VTX setup:
Installation:
- Connect your HDMI sources to HDMI inputs 1 & 2.
- If you have a source which is DVI, use a DVI to HDMI cable and connect
the analog audio to analog input using a stereo to 3.5 mm cable.
- The analog and optical audio outputs can be connected to your audio
matrix switch or AVR receiver. These outputs are active for NetPlay
audio and/or any video playing on the HDMI output. The HDMI output
will also carry the same audio.
- The HDMI output is NOT ACTIVE on hardware 1.0 of VTX100. Do not
use this jack.
- Connect the ethernet port to your ethernet switch.
- USB can be used for USD storage if needed (usb flash or HDD).
- RS232 is a control port. Generally this can be used to control
external devices via ethernet. It can also be used to configure VTX100
if ethernet is not available.
- The 3 IR outputs can be used to control external devices via ethernet.
Typically they would be connected to both sources and one display.
- Power up VTX100 after all connections are made. Each VTX100 board
has its own power supply, 12V DC 2+A center positive.
Setup:
When using Virtual Matrix,
VTX100 is configured directly by the
Virtual Matrix application. There is no need to access VTX100 directly for
setup.
VTX100 can be controlled manually through it's own web interface for other
applications. You can access the web control page by typing the IP address
of VTX100 into a web browser.
Keep in mind that VTX100 will put encryption on any output resolution greater
than standard definition.
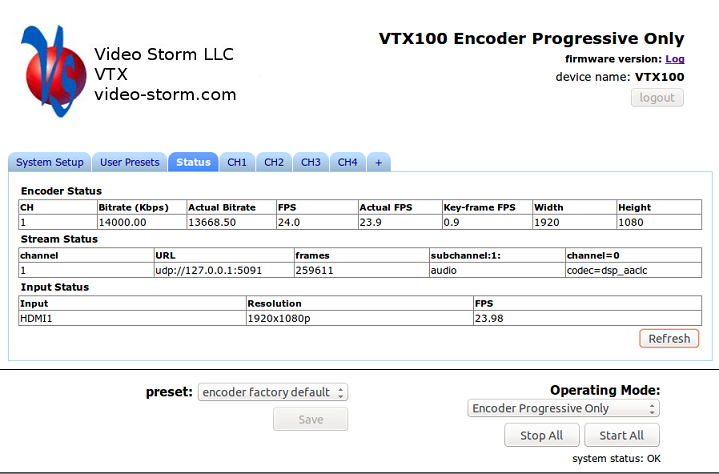
Below is a screen shot of one of the manual configuration screens.