Use a Bonjour network browser or DLNA network discovery tool to locate the IP address of VRX010. The device is published as a "telnet" device in Bonjour and a AV renderer in DLNA. The device name will be videostorm-vrx-mac_address. VRX010 uses DHCP for initial setup. You can set it to a static IP address in the "IP address config" menu later.
Type the IP address of VRX010 into a web browser.
This will bring up the main config page (below).
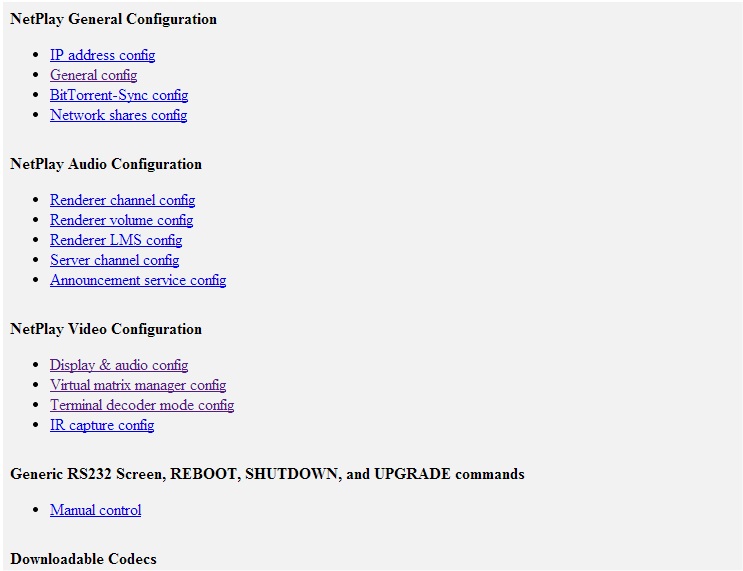
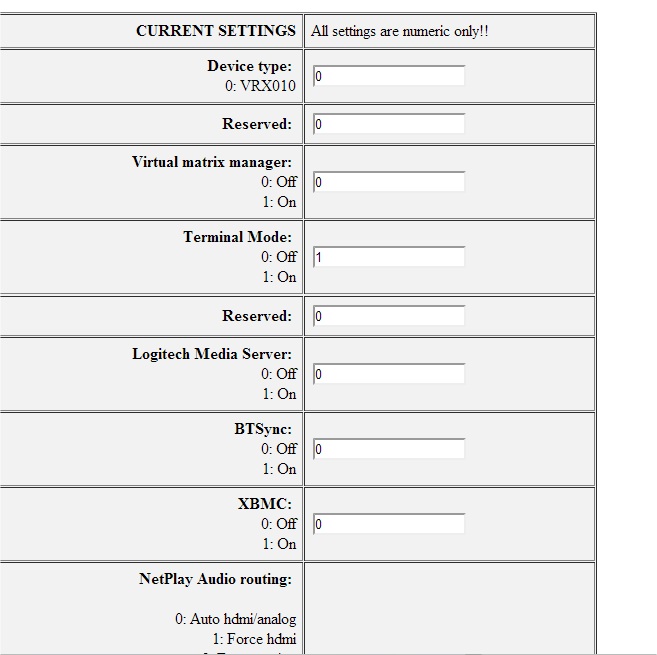
Select "General Config". Set Terminal Mode to 1 and
submit.
From the main menu, now select "Terminal decoder mode
config"
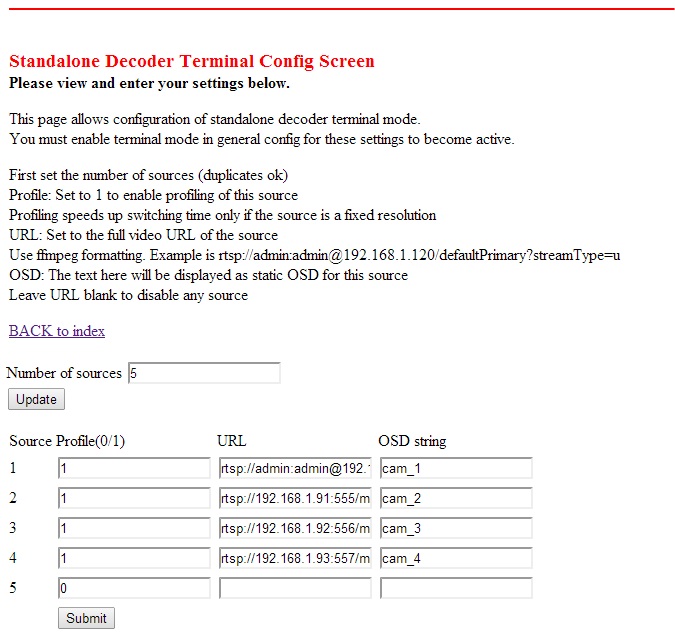
This page is the main configuration for this application. You will define all your network sources here.
-
First enter the number of sources you will use and click "Update". You can duplicate sources and leave sources blank if desired.
-
For each source, enter the streaming URL. Currently only RTSP and UDP urls are supported. The format will be TYPE://login:password@IP_ADDRESS/stream_path. For Avigilon cameras, stream path is /defaultPrimary?streamType=u for unicast or /defaultPrimary?streamType=m for multicast. Both types are supported, but your network must be IGMP capable to use multicast.
-
The Profile field should be set to 1 if your source is fixed format. This allows faster switching via profiling of the stream (which occurs on the first selection).
-
The OSD field allows you to display this text on top of the video from this source.
When you are finished, click submit.
From the main config page, select "Manual Control"
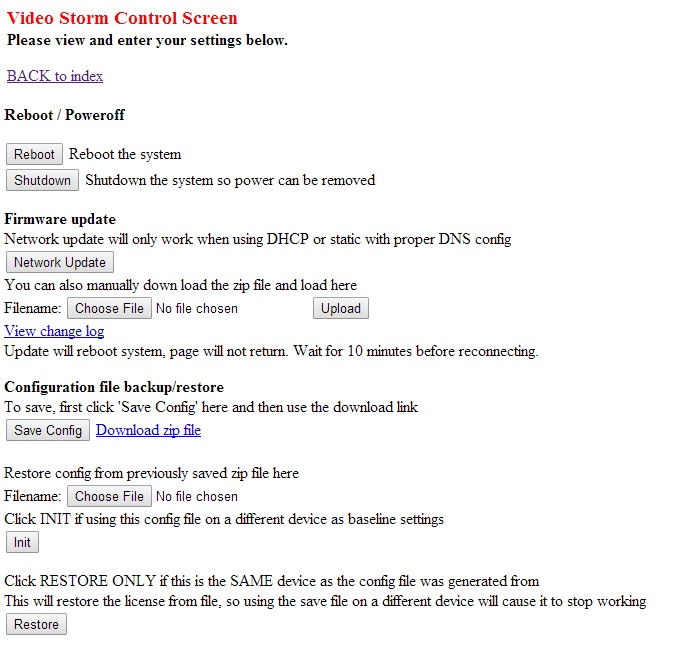
Select "Save Config" and then "Download zip file". Save this file to a secure location.
Finally click "Reboot" to apply all changes.
On all other VRX devices in this system, you do not need to go through the Software Setup. For these devices, simply go to this "Manual Control" menu, use "Choose File" to select the saved config, then click "Init". DO NOT use "restore" since that would overwrite your license file and make the device inoperable.